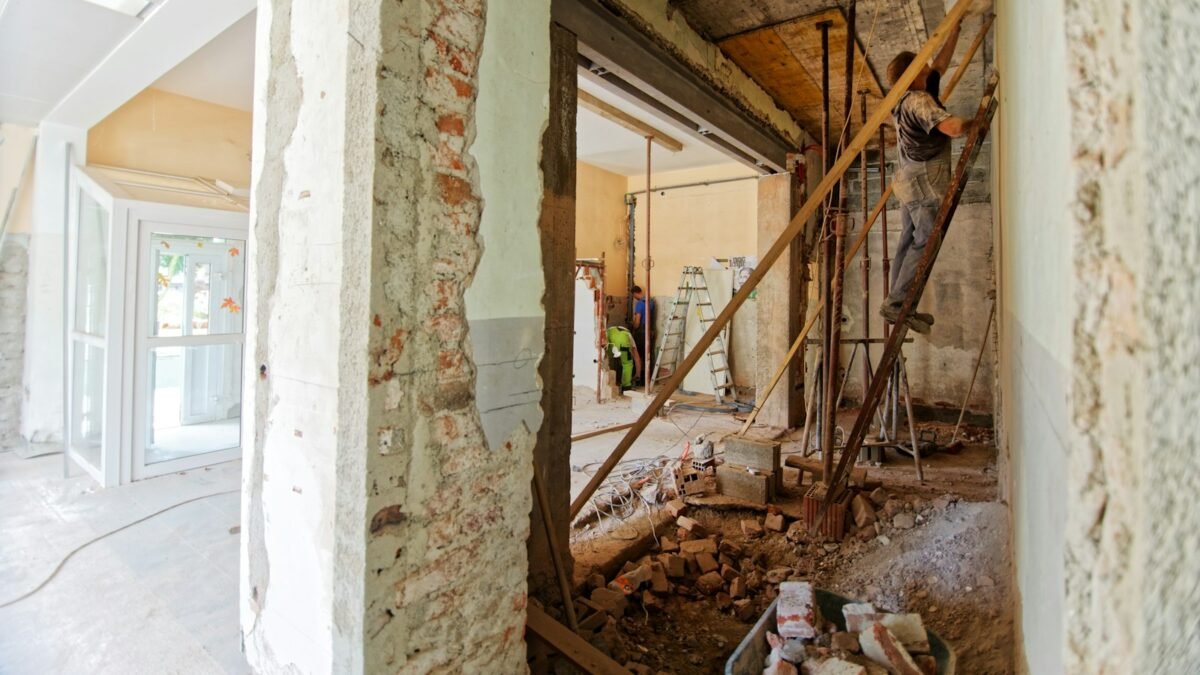
A format that has spread quickly across YouTube Shorts, TikTok and Instagram shows a run-down room transforming into a finished, polished space in a fast time-lapse. Many of these clips are generated entirely with AI, and the workflow behind them is simple enough to reproduce with tools that offer free tiers. This guide walks through it in seven steps.
Step 1: Plan the sequence with a chatbot
Start in any general-purpose chatbot such as ChatGPT, Claude or DeepSeek. Ask it to act as a renovation concept planner and to propose ten ideas (for example, a neglected 1970s bathroom becoming a spa-style suite). Pick one, then ask it to write a set of prompts for the rest of the workflow: four image prompts describing the room at successive stages, three video prompts describing the transition between each pair of images, and one music prompt. Keep the descriptions consistent in layout, lighting and camera angle so the frames line up.
Step 2: Generate the starting frame
Take the first image prompt, which should describe the unfinished or stripped-down room, to ImageFX, Google’s free image generator in Google Labs. Paste the prompt, generate until you have a frame you like, and download it. This is your starting keyframe.
Step 3: Edit the frame through each stage
ImageFX does not edit existing images, so switch to Google Gemini for the next stages. Upload the first image, paste the second image prompt (workers mid-renovation), and download the result. Repeat with the third prompt (nearly finished) and the fourth (the completed luxury room). Editing from the previous frame rather than generating from scratch keeps the room’s geometry consistent. You should end up with four keyframes: the bare room, work in progress, nearly complete, and finished.
Step 4: Turn the keyframes into video clips
Open Google Flow, Google’s AI filmmaking tool, and choose its frame-to-video option, which animates a transition between a start frame and an end frame. Build three clips:
- Image 1 to Image 2
- Image 2 to Image 3
- Image 3 to Image 4
For each clip, set the earlier image as the start frame, the later one as the end frame, and paste the matching video prompt. Add a line such as “No dialogue, no voice-over, no background music, only relevant sound effects” so the generated audio does not clash with the music you add later. Generate and download each clip.
Step 5: Add a closing shot
Upload the fourth, finished image to Flow on its own and use a simple prompt such as a slow cinematic camera push into the completed room. This becomes the final “reveal” shot.
Step 6: Create the background music
Paste the music prompt into Suno, turn on instrumental mode so there are no lyrics, and download the track. Generating your own music avoids the copyright claims that come with using commercial songs on social platforms, though you should check Suno’s current terms for how generated audio may be used on a free plan.
Step 7: Assemble in CapCut
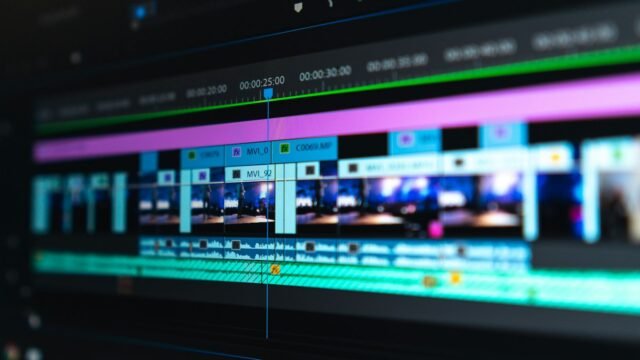
In CapCut, place the music on the timeline, add the four video clips in order, trim the music to match the video length, and export. If you want to show several renovations in one video, repeat the same four-clip structure for each.
A note on cost and limits
Each of these tools offers free access, but free tiers typically come with daily generation limits, watermarks or lower resolution, and Google Flow’s video generation in particular is tied to Google’s AI subscription plans in many regions. Check the current terms before planning a high-volume channel. The broader lesson is that a complete short-form video pipeline can now be assembled with little or no budget; what separates results is a consistent concept and steady output.